
Building a new product often feels like a high-stakes gamble. If you jump straight to injection moulding, you risk spending thousands on a tool that doesn’t quite work. Many designers find that while 3D printing is fast, it doesn’t always show how a part will handle real-world stress.
This is why using solid plastic sheet and rod is such a practical middle ground for testing. We’ll explain everything step by step so you can see how these materials will save your project from expensive mistakes.
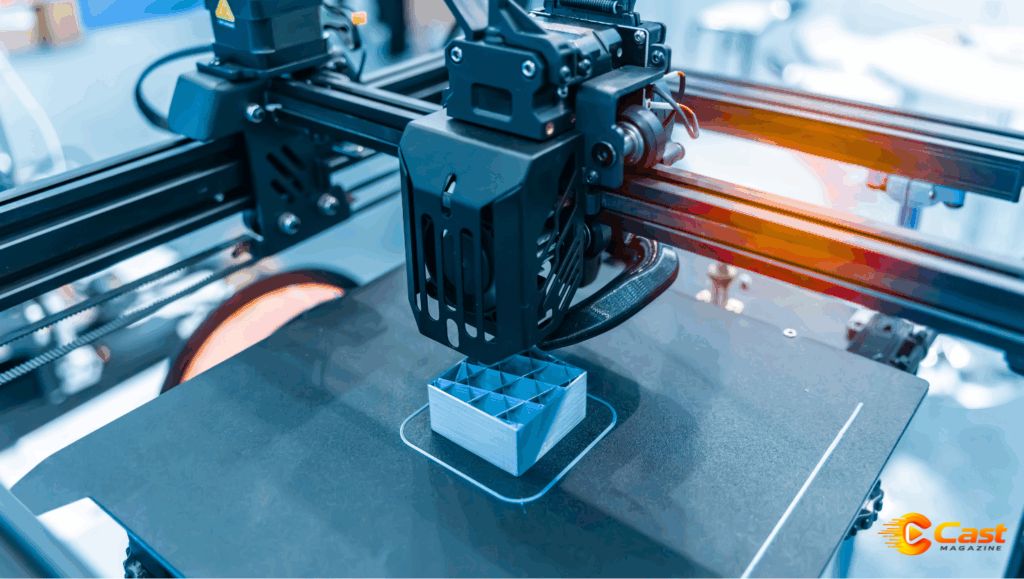
Differences Between Machined Plastics and 3D Printing
While 3D printing is great for checking size, it often fails during mechanical tests because the layers create weak points. Machining from solid stock instead ensures a consistent internal structure, which makes your functional testing much more accurate.
You’ll be able to drill, tap, and bolt these components exactly like the final product to see how they perform under pressure. This will give you a clearer picture of how the material behaves and provides a reliable way to prove the design works.
Methods to Speed Up the Sourcing Process
Getting hold of the right material quickly is a priority for any development team. You don’t want to spend your time cutting down huge sheets of material in-house. It’s often more efficient to order cut-to-size engineering plastic sheets that arrive ready for your CNC machine. This approach eliminates the need for heavy saws and reduces the amount of waste you have to manage.
By ordering specific sizes, you also keep your workspace cleaner and more organised. It allows you to focus on the actual machining and testing instead of the preparation work. This is especially helpful when you are working with expensive engineering plastics. You only pay for the material you use, which keeps the prototype budget under control. You’ll find that this method helps you move towards a finished design much faster.
How to Choose the Right Material for Your Tests
Choosing the right plastic is about matching the properties to your final goal. You’ll need to think about friction, impact, and heat resistance. It’s worth pointing out that using a material that is too strong or too weak will give you misleading results. You should aim for a material that mimics the performance of your final production plastic.
Specific Grades for Functional Components
There are several popular plastics used in modern prototyping workshops. You will need to select the one that fits your environment:
- Acetal is perfect for precision parts because it’s easy to machine and stays stable.
- Nylon is the best choice when you need high wear resistance and toughness for moving parts.
- HDPE works well for components that will come into contact with chemicals or water.
- Polycarbonate is ideal if your prototype needs to be clear but also needs to survive impacts.
- Polypropylene is a great option if you need to test integrated hinges or chemical resistance.
Practical Steps to Validate Your Design
Once you have a machined prototype, you can start real stress testing. You’ll be able to see how the part fits into an assembly and if it can handle the torque or heat it will face. This stage is where you will catch the small errors that a computer screen might miss. It’s much cheaper to tweak a CNC program than it is to re-cut a steel mould.
The data you gather here will be invaluable for your manufacturer. You’ll be able to provide them with exact tolerances and material specifications that you know will work. This level of preparation will reduce the number of trial runs needed when the factory starts production. You will feel much more confident when you finally give the green light for the investment in tooling.
Prepare for the Move to Production
The final steps involve refining your design based on prototype feedback, such as adjusting thin walls or hole placement. By updating your CAD model and running a final sample, you’ll ensure a smooth transition to high-volume manufacturing while avoiding common launch delays. This approach results in a proven, reliable design, making the move towards production far more predictable.
To Wrap Up
Prototyping with engineering plastics is a smart way to protect your product development. It provides a level of physical testing that digital models and 3D prints simply can’t match. By using cut-to-size materials instead of oversized slabs, you’ll save time and money during the early stages.
This practical method will ensure that your final product performs exactly as you intended. You’ll find that the small investment in solid prototypes will pay for itself many times over.
READ MORE: Pxless Design Explained: The Future of Responsive, Scalable & Pixel-Free Web Desig